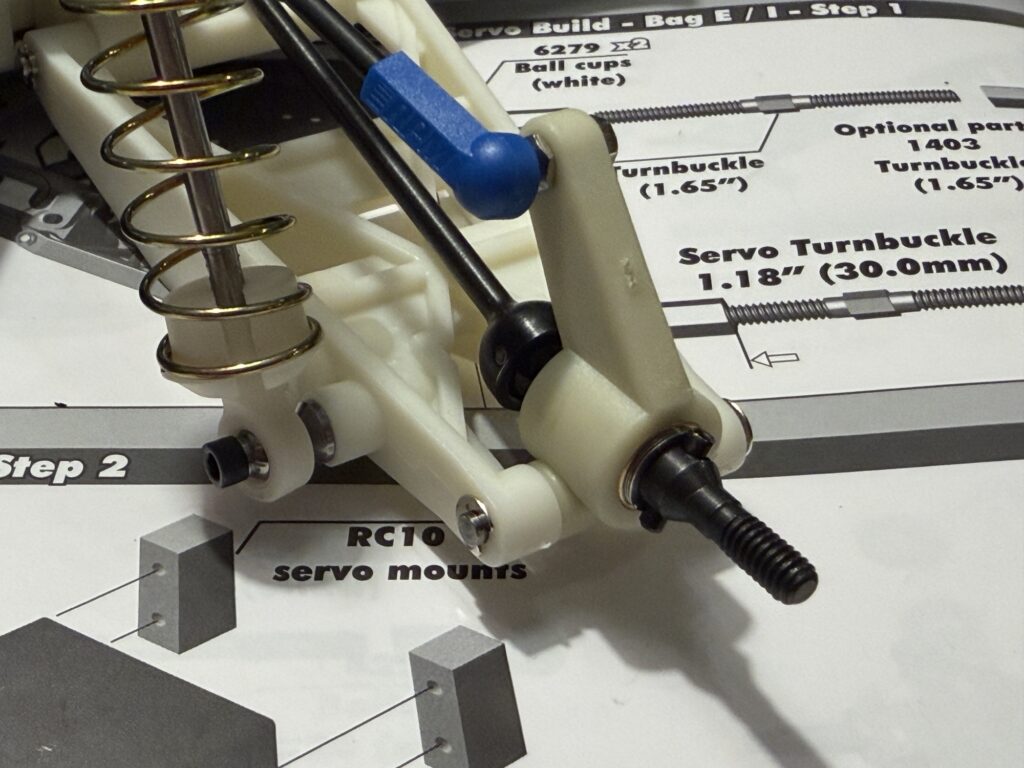
If I had a nickel for every phantom error that Xcode showed in the sidebar…
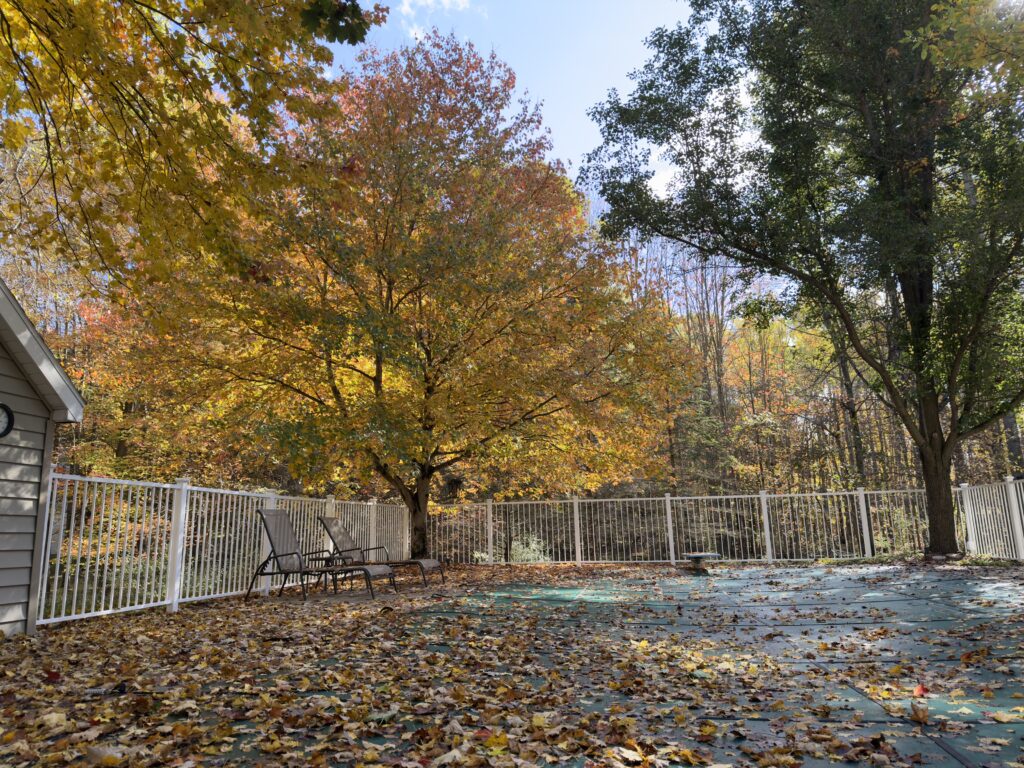
It’s that time of year again. We haven’t gotten snow yet, but it’s been dropping below the 45° cutoff of my summer tires for the last couple weeks.
@paul@tapbots.social I picked up a Unifi rack mount PDU awhile back and love it. Reasonably priced compared to other metered PDUs and a heck of a lot nicer to use.
It’s Election Day, America! Pick the candidate who is best for our democracy, and vote for her!
Wait, so Apple updated the port on the Magic Mouse, but didn’t fix the biggest bug related to the port of the Magic Mouse?!? ????
Central Michigan University was hosting a presentation by Pete Souza: the White House photographer for Reagan and Obama. So many interesting stories to share, plenty of inspiring photographs to enjoy, and I left with a signed copy of his latest book.
The Verve Pipe, putting on an amazing show downtown.
Just saw a Lamborghini Huracan STO drive by, and it was glorious. What a sound!
Just learned that Swift’s Duration measures time down to an attosecond (1×10^-18 of a second).
There’s forward thinking, and then there’s attosecond forward thinking. According to Wikipedia, an attosecond is to a second as a second is to about 31 billion years.
I suppose this gives the option of Duration being used in scientific computing, but it’ll be a long time before attoseconds would make sense to measure an interval in coding.
https://eworld.social/@ismh86/112677933919992572
I had one of these drives hooked up to my Mac 512K at the time. My 512K had a SCSI card that only supported one device on the bus instead of the typical 7, so I had to shutdown and unplug my external HD and boot from a floppy to use it.
You have no idea how big 650MB per disc felt back then. My hard drive was only 40MB.
It was also amazing to play an audio CD without slowing down the computer, since the headphone jack bypassed the Mac.
There’s always too many side projects to work on. Recently I’ve been working on a new Swift-based weather forecast server that interfaces with NWS (when available) and falls back to WeatherKit’s REST API for locations outside the U.S.
After that’s done, I’ll be updating all the Seasonality apps to use it before moving on to the next task.
Now that Apple will support using your out-of-reach iPhone from your Mac, it’d be great to see them allow you to use your out-of-reach Mac from a Vision Pro.
Last week we went to all four Disney World parks as well as Universal Studios. Over the course of the week, I walked just under 120,000 steps, with a total walking distance of 49 miles. It was exhausting, but we had an amazing time.
Can you tell which days we took a break? ?
A few weeks ago I crossed an item off my bucket list by hiking to the top of Yosemite Falls. It was 8.4 miles round trip with 3,000 feet of elevation gain. The hike lived up to all my expectations and more. I collected several of my photos and videos to tell the story in a post on my photography blog. Check it out here:
https://radiant.photography/2024/05/hiking-yosemite-falls
Participated in an Apple Vision Pro demo today. It was better…and worse…than I was expecting. What a great device overall though.
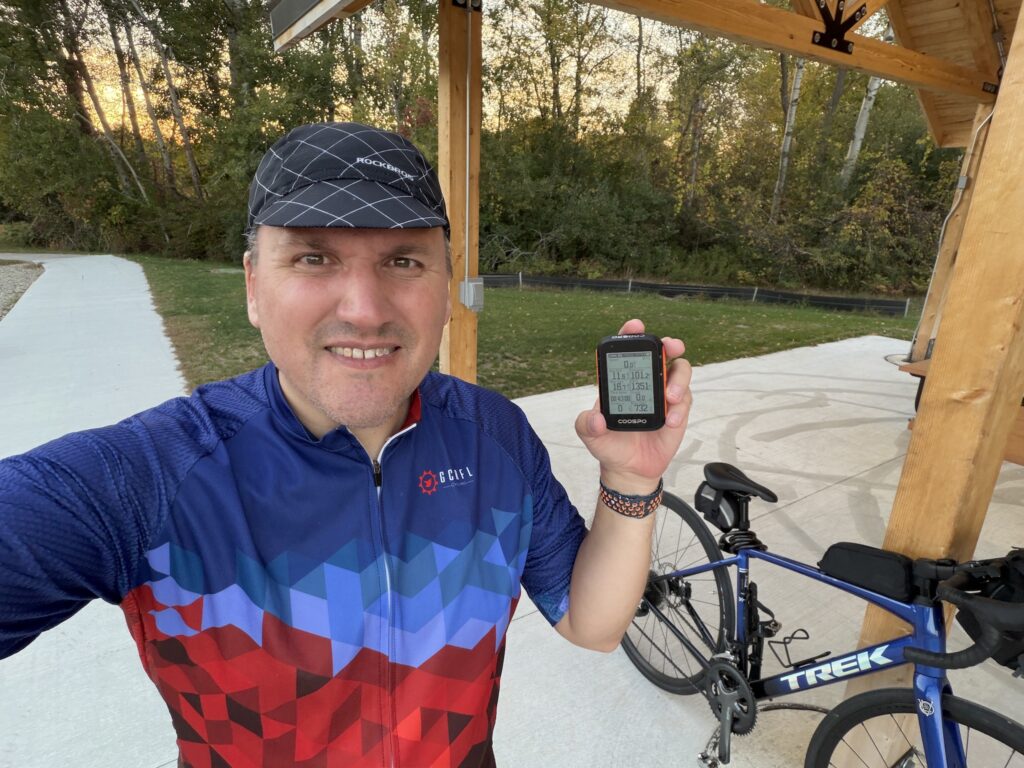
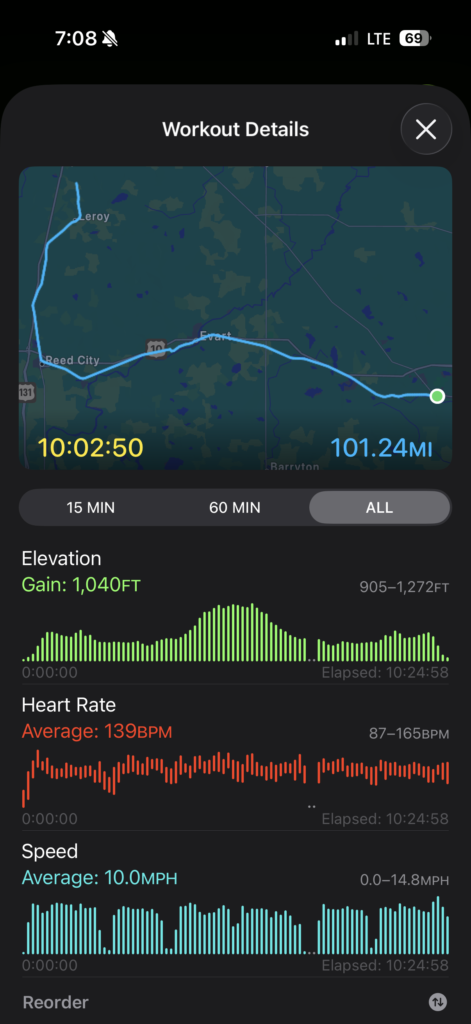
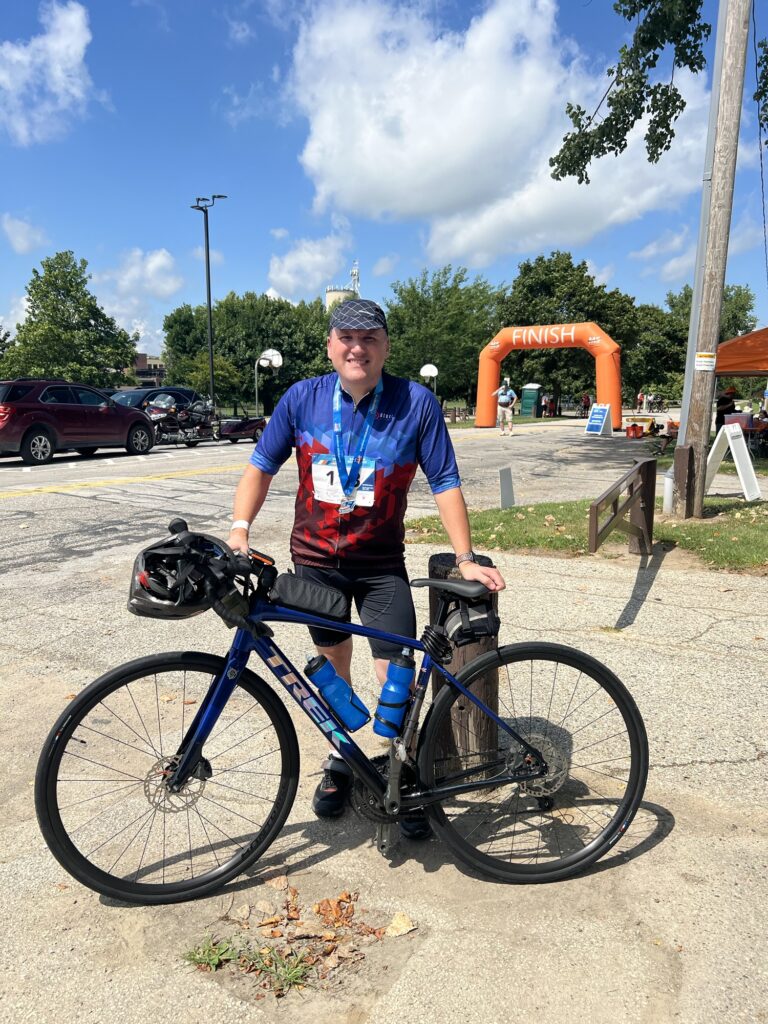
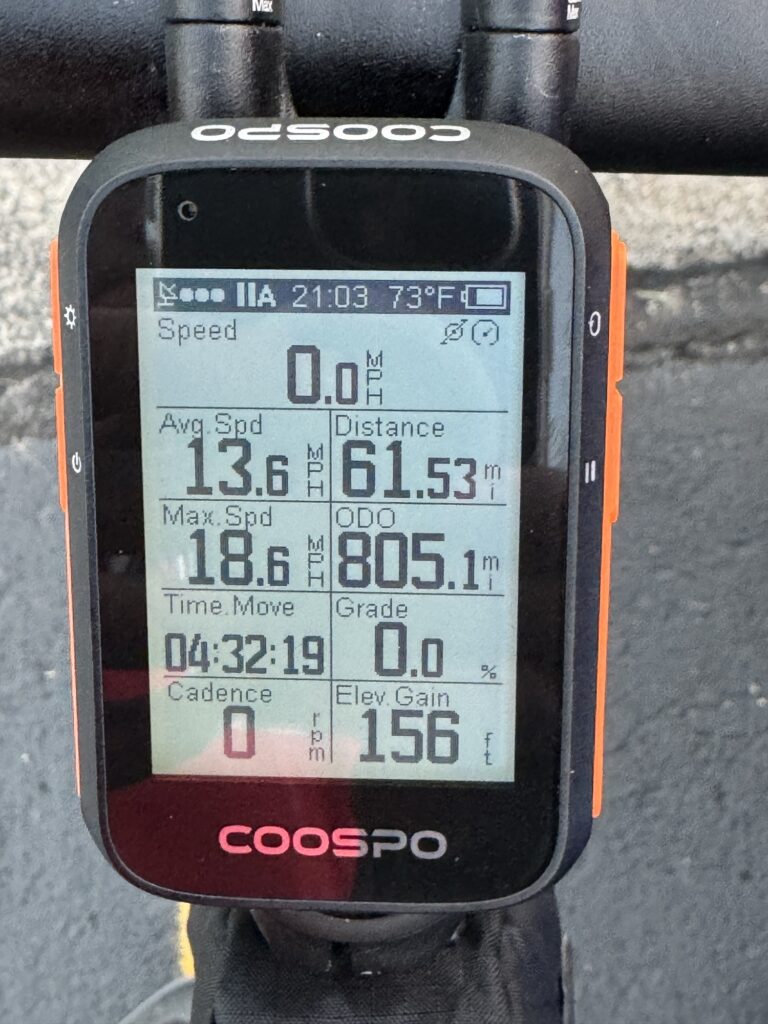
Also went out for a 6 mile mountain bike ride this evening. Planning to do some longer road rides this season. Here’s hoping I actually follow-through. ?
Today was the day…pulled the car out in the driveway and swapped to the summer tires. Great to be back to a smoother ride and more confident turns.
We traveled to Bluffton, Indiana for the eclipse. There were some high clouds, but overall viewing conditions were good.
I photographed it using an older 5D Mark II with an EF 100-400L lens. I took about 40 shots during totality at various exposures, and picked 4 to process as a stack. My aim was to pull out the detail of the corona. Pretty happy with the results!
I’ve been seeing a lot of questions online about how to photograph the eclipse or what kind of filters to use. I photographed the last eclipse back in August 2017 (I captured the photo above during totality). Here are some tips from that experience…
During totality, you’re safe photographing without a filter at any focal length. The sun is blocked, and it looks like night up toward the sun (which is just a mildly-bright ring in the sky), and lighter along the horizon. I would estimate that looking at the sun in totality is about as comfortable as looking up at a full moon in a night sky.
It’s tricky when you are in totality though, because you can get caught off-guard when totality ends if you haven’t put the filter back on your camera (or if you are viewing the sun while totality ends). Set a timer for just before totality is supposed to end to give yourself a heads-up.
If you are out of totality at all (even at 99% coverage), you need a filter if your camera is pointed straight at the sun at a medium to telephoto focal length (> 35-50mm). If you have a wider angle lens and frame the sun mid-frame or near an edge, less sunlight is directly impacting your sensor and you don’t need a filter. Without a filter, you still need to use some caution when the sunlight isn’t hitting your lens straight-on, because you can always damage the side of your lens barrel or the edge of your camera mount, if the sunlight gets focused on those areas by being off-center.
So how do you determine if you are zoomed in enough to need a filter? If you are consciously “zooming in” to take a picture of the sun, use a filter. If you are taking a picture of the environment around you, like you would on any other sunny day, and the sun just happens to be in the frame, you probably don’t need a filter.
Assuming you need to choose a filter, solar filters are safer than ND filters (no matter the strength of the ND). ND filters are only guaranteed to block visible light, but the sun projects a much broader range of the EM spectrum. Solar filters will block that ultraviolet and long wave IR light as well. If the other wavelengths aren’t blocked, you could damage your camera sensor (or worse, your eyes) from something you can’t even physically see. Make sure your solar filter is ISO 12312-2 certified.
When photographing an eclipse with a mirrorless camera, you are more likely to damage the camera. When photographing with a DSLR, you are more likely to damage your eyes. With a DSLR, if you are pointed at the sun and the mirror is closed (assuming you aren’t in live view or capturing video), then any strong sunlight will reflect off the mirror, through the prism and out the viewfinder. The camera itself is relatively safe, because the light is only passing through it. With a mirrorless camera, the light will be hitting the sensor or shutter at all times, either burning the sensor or melting the thin blades of the shutter. In other words, the camera can be damaged much more easily, but at no point can the sunlight reach your eyes because you are just looking at a screen.
With all this being said, for my setup this time around I’ll be using a DSLR with a 400mm lens and solar filter to photograph the sun. That way I can remove the filter during totality without much risk of damaging the camera if totality ends before I’m able to put the filter back on. Additionally, I’ll setup my modern mirrorless camera to capture photos and video of the landscape around us at around 24mm with a manual exposure adjusted for a daytime scene. This will give me a way to capture the event in multiple ways with minimal chance of damaging my cameras or eyesight.
Wishing you clear skies…